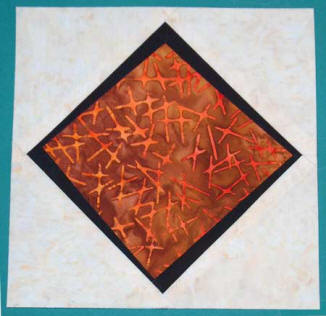
Ever dream of perfect points?
Creating intricate designs
without frustration?
Ever wanted to just be able to
sew on a straight line?
Well, if so, paper piecing is
for you! We've outlined the basic techniques of paper piecing. Once
you've learned how, you'll be able to create your own masterpiece!
Caution: Paper piecing is
definitely addictive!
|
|
|
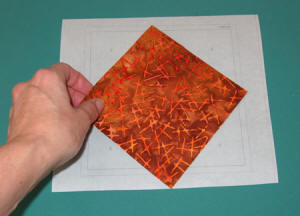
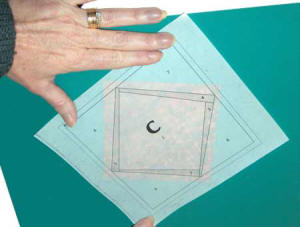
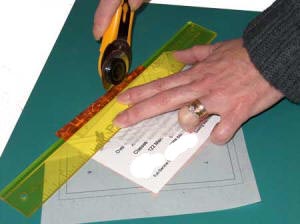
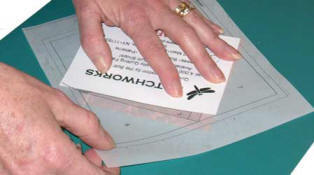
 Get
started by transferring your pattern onto foundation piecing paper. Get
started by transferring your pattern onto foundation piecing paper.
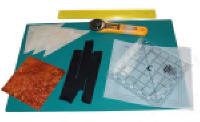
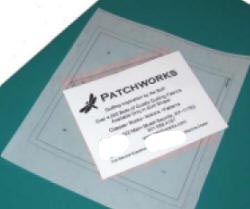
We also used a rotary cutter,
ruler, mat, and an
Add-A-Quarter™ Ruler.
Once you have your supplies and pattern copied onto foundation paper,
you're ready to begin! |
|
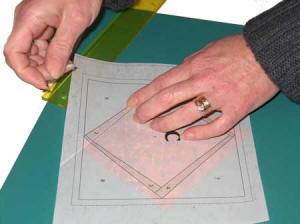
Keep in mind the fabric will be
placed RIGHT SIDE UP on the WRONG SIDE of the pattern. You will
stitch on the RIGHT SIDE of the pattern along the marked lines. The
numbers in each shape indicate the order in which the pieces are sewn.
With the printed side of the
foundation paper down, place the fabric with wrong side to the paper
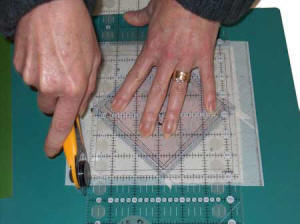
over the #1 section. Flip the piece over to make sure that the edges of
the fabric extend beyond the sewing lines as shown below and place on a
rotary cutting mat. |
 |
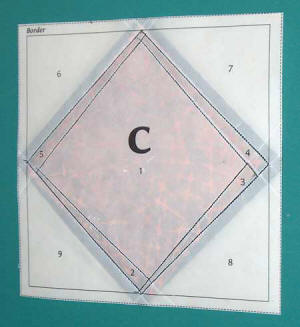
This
is the RIGHT SIDE of the paper--the side you will stitch on. The fabric
is on the WRONG SIDE of the paper with the wrong side of the fabric
meeting the wrong side of the paper.
 |
The first sewing line is the
line between sections
#1 and #2. To trim the fabric, place a
straight edge along that line.
 |
Fold the paper, only, back along the straight
edge exposing the fabric.
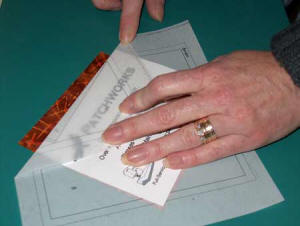 |
Next, place the Add-A-Quarter™ Ruler along the
folded edge with the 1/4" lip of the ruler
on the fabric.
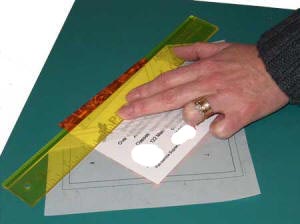 |
Trim the excess fabric.
You will now have a straight 1/4" seam allowance.
 |
Fold the paper back.
 |
|
Cut a piece of fabric for
section #2 making sure it covers the area and extends beyond the sewing
lines. Position the fabrics, right sides together, raw edges meeting
along the trimmed edge and pin to hold in place.
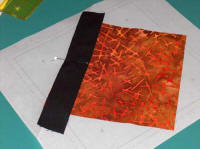
Pinned and ready to go! |
 |
|
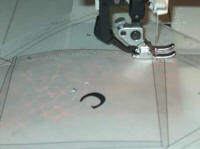 
At the
sewing machine, set the stitch length to 1.5mm. Use an open-toe
foot to make it easy to see the stitching line. Begin sewing a
few stitches BEFORE the beginning of the line, continue to the end and
sew a few stitches PAST the end of the line.
Remove the pin before you get
to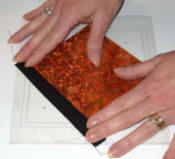 it! It's really there just to hold the
pieces in place when bringing your
work to the sewing machine.
it! It's really there just to hold the
pieces in place when bringing your
work to the sewing machine.
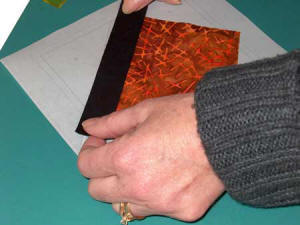
When completed stitching, remove the work from the machine. Clip
the thread ends (let's keep it neat!). Turn your work over, flip the
piece into place and finger press or lightly iron with a dry iron.
|
 |
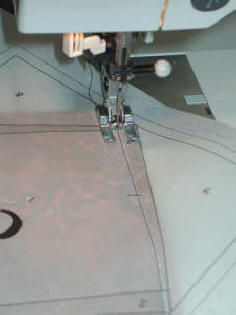
Repeat the above steps
following the order of the pattern. The next stitching line will be the
line between sections #2 and #3. Place the straight edge along that
line, fold the paper back and use the Add-A-Quarter Ruler™ to trim the
fabric. Cut a piece of fabric for section #3, position the
fabrics, pin and stitch. Trim the threads, finger press in place and
continue with the following sections until all are complete. |
All the sections are stitched and you're almost there! Lightly press the
entire piece with a dry iron. |
The last step is to trim around the
entire piece being sure to leave the 1/4" SEAM ALLOWANCE! Most patterns
will show a dashed line for the outside edge of the piece.
 |
|
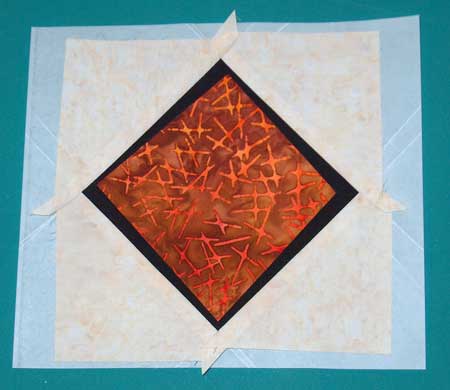
Sit back and admire! Wasn't that easy? |
|
|
 |
A few tips...
We like to keep the paper backing on until the project is sewn together.
Using the smaller stitch length (1.5mm) and a size 90/14 machine needle
makes paper removal easier.
For a quick rip, grasp the piece by opposite corners and tug sharply in
opposite directions. This will rip the paper right at the stitching
lines.
If you use an iron to press, be sure to use little or no steam. |